
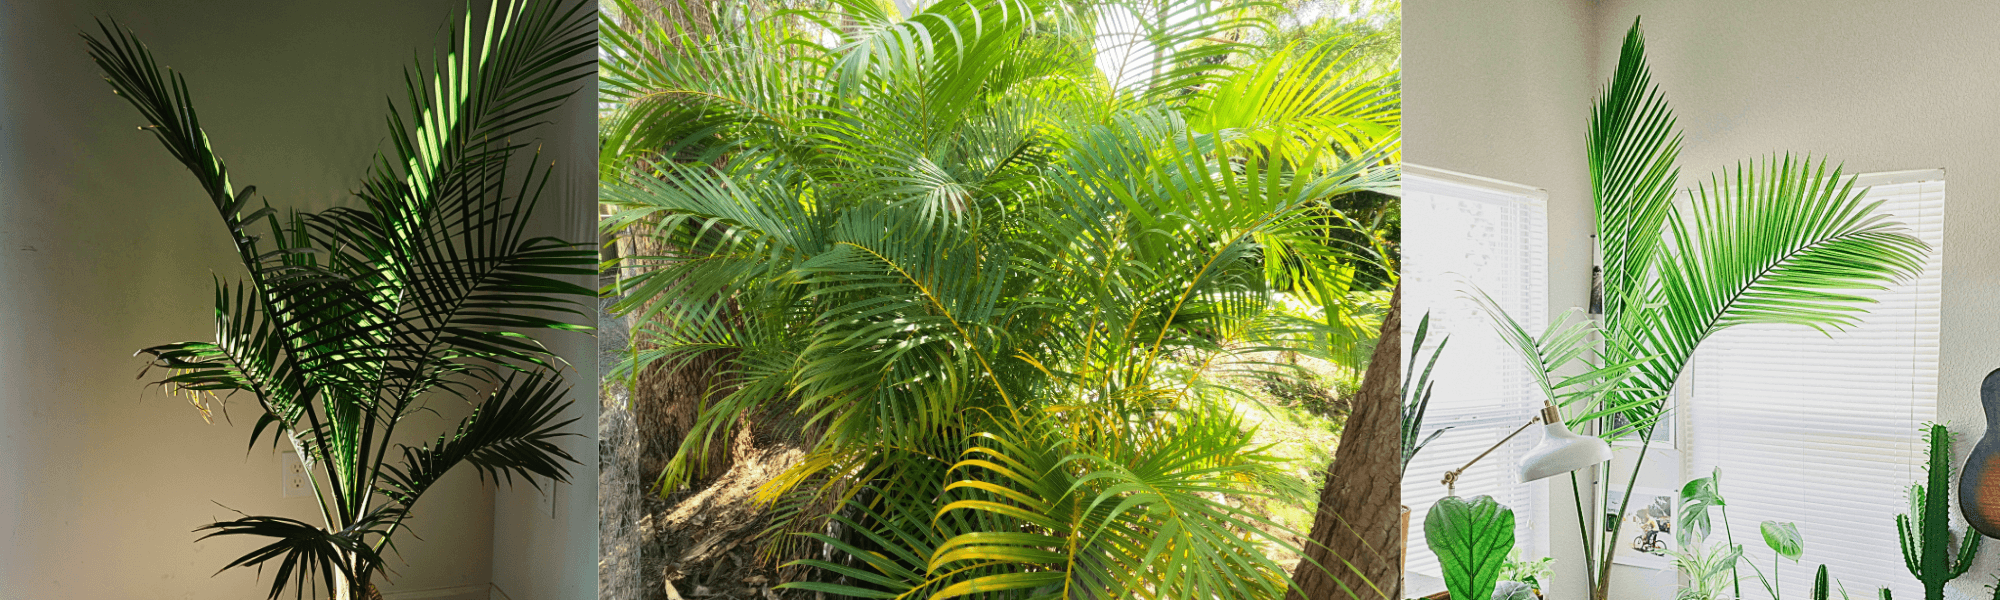
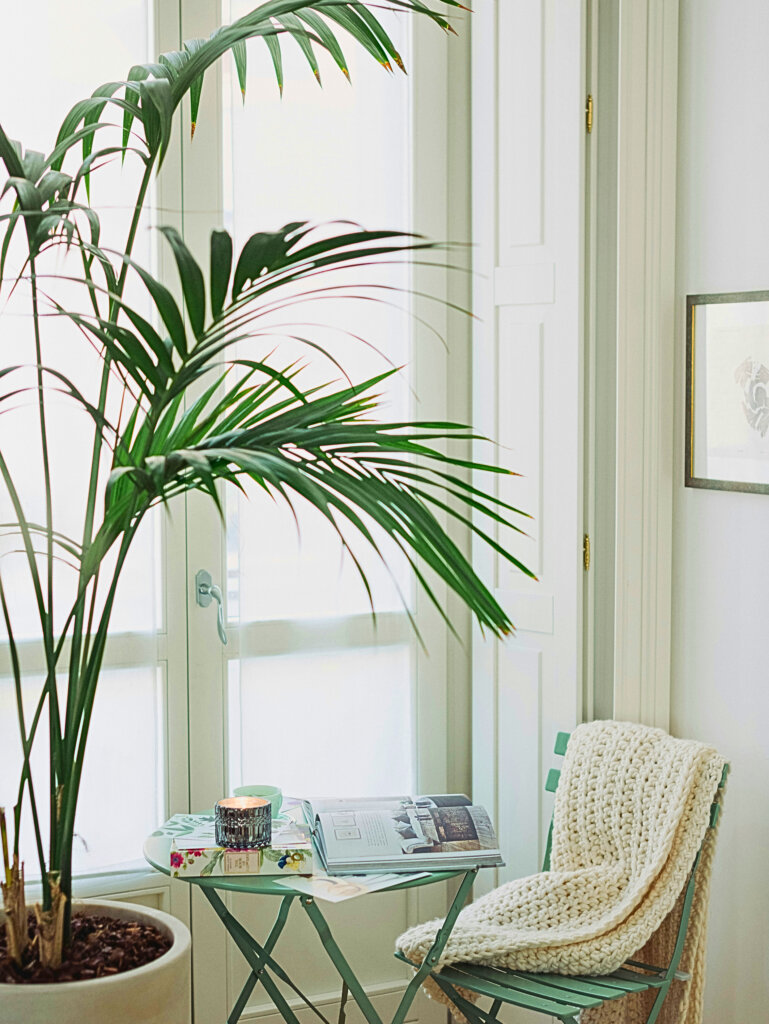
With their slender stems and feathery, cascading fronds, parlour palms are perfect for filling your home with tropical elegance. Tropic plants can be fussy, but parlour palm care is actually surprisingly straightforward. They’re a great choice whether you’re new to houseplants or looking to add something special to your collection.
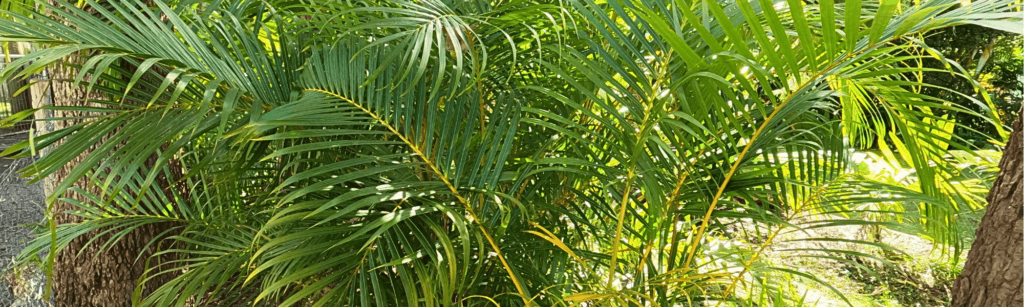
Originally from the rainforest floors of southern Mexico and Guatemala, these palms have evolved to thrive in higher humidity and the dappled shade beneath taller trees. To recreate similar conditions at home you need to avoid harsh direct light, maintain a bit of moisture in the air, and water with care.
Whilst you’ll nearly always see this plant sold as the parlour palm, its proper botanical name is Chamaedorea elegans. You might also occasionally come across it labelled as the neanthe bella palm, though that’s much less common.
This article will cover everything you’ll need to know to keep your parlour palm looking its best, from choosing the perfect spot to troubleshooting the odd hiccup along the way.
In this guide
Quick parlour palm care facts
| ☀️ Light | Bright but indirect, tolerates low light |
| 💧 Water | Keep lightly moist, allow top to dry slightly |
| ♨️ Humidity | Medium – high |
| 🪴 Compost | Well-draining potting compost |
| 🌺 Flowering | Occasionally produces small yellow flowers |
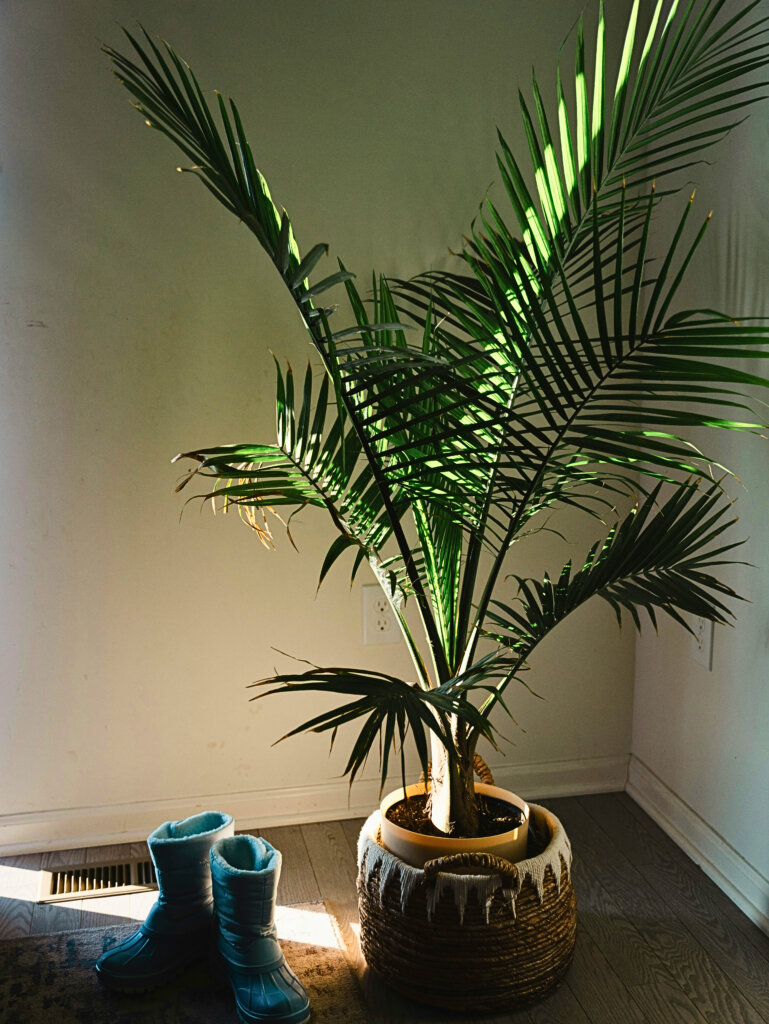
Best location for your parlour palm
Parlour palms are adaptable plants that naturally grow beneath the forest canopy, so they’re happiest away from bright, direct sunlight. In the home, they do best in a spot with bright indirect light (somewhere that gets plenty of natural light but where the sun’s rays never actually land on the fronds). A bright bathroom or hallway would work brilliantly as they have naturally higher humidity. Avoid south or west-facing windowsills where the sun is at its strongest, as the intense light will quickly cause damage. They also do remarkably well in lower light conditions, making them one of the more forgiving houseplants.
Signs your parlour palm is getting too much light
- Frond colours are fading or looking washed out.
- Brown, crispy patches appearing on the leaflets.
- Fronds yellowing or looking scorched, particularly on the side facing the light.
- Soil drying out unusually fast.
Signs your parlour palm is getting too little light
- Growth has slowed right down or stopped altogether, even during the warmer months.
- New fronds are coming through smaller than usual or looking spindly and weak.
- Fronds are a paler green than they should be, lacking vibrancy.
- Lower fronds yellowing and dying off more quickly than normal.
- The plant is leaning heavily towards the nearest light source.
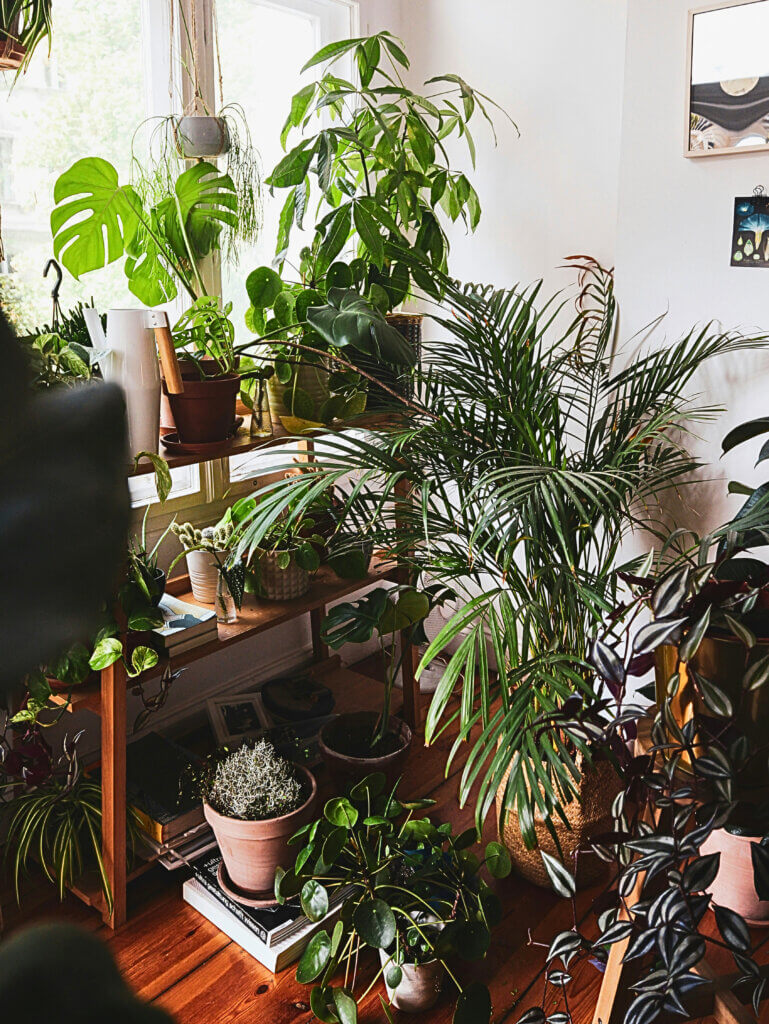
How to display your parlour palm
Parlour palms are elegant statement plants, so they deserve a spot where they can be properly appreciated. They look fantastic as a standalone feature on a side table or plant stand, where their graceful fronds can arch naturally. Grouping them together with other tropical plants looks great, and clustering plants together will also help raise the humidity levels. They’re surprisingly tolerant of low light so can also help brighten a shady corner. Just be mindful of the symptoms listed above which indicate the light is too low. Avoid spots near radiators, draughty windowsills or air conditioning units.

How often to water your parlour palm
Parlour palms like to be kept lightly moist but never waterlogged, so getting the watering balance right is key. Rather than sticking to a rigid schedule, it’s best to check the soil regularly. Water only when the top inch or so feels dry to the touch. These plants are more tolerant of occasional underwatering than overwatering, so when in doubt it’s better to wait a day or two. Always use lukewarm water if you can, as cold water can shock the roots.
A rough watering schedule should look like:
- Spring/Summer: Every 5 to 7 days
- Autumn: Every 7 to 10 days as growth begins to slow
- Winter: Every 10 to 14 days
When to increase watering
- The top inch of soil is drying out faster than usual between waterings.
- Temperatures in your home have risen.
- The plant is putting out lots of new growth and is in an active growing phase.
- The pot feels very light when you pick it up, suggesting the compost is quite dry.
- Fronds are beginning to droop slightly or looking less perky than usual.
When to reduce watering
- Growth has slowed or paused.
- The soil is still feeling damp when you come to water, meaning it hasn’t dried out enough.
- The weather has turned cooler.
- You’ve recently repotted into fresh compost, which tends to retain moisture more readily.
- Fronds are yellowing, which can be an early sign of too much water.
When to water most infrequently
- During the depths of winter when the plant is at its least active.
- If the plant is in a cooler room where evaporation is slower.
- Following a period of illness or root damage, where the roots need time to recover before taking on more water.
Top Tip
Parlour palms can be sensitive to the fluoride and chlorine found in tap water, which can cause brown leaf tips over time. If you notice this happening, try switching to rainwater or leaving tap water to sit overnight before using it, which allows some of the chemicals to dissipate.
Best compost for a parlour palm
Getting the compost right for your parlour palm is important but also fairly straightforward. These plants need a mix that holds enough moisture whilst still draining freely enough that water doesn’t sit around and cause problems. A standard multipurpose compost straight from the bag will work perfectly well for most situations, though if you find your plant is regularly becoming waterlogged it’s worth mixing in a little perlite or horticultural grit to improve drainage.
Parlour palms prefer a slightly acidic to neutral soil pH, somewhere between 6.0 and 7.0, so avoid anything that might push the pH too far in either direction. Most standard peat-free composts fall within this range naturally, so it’s not something you’ll need to overthink.
It’s a good idea to refresh the compost every couple of years, as older compost breaks down over time. This means it can lose its structure and become prone to waterlogging.
Common parlour palm problems
Here are some of the common problems your parlour palm plant may encounter, and how to fix them.
Brown leaf tips
Brown, crispy tips are one of the most common complaints with parlour palms and are usually nothing to panic about. They most often point to low humidity, inconsistent watering, or sensitivity to chemicals in tap water. Whilst the damaged tips won’t recover, the rest of the plant can continue to grow perfectly happily once the underlying cause is addressed.
To tackle brown tips, start by switching to rainwater or filtered water if you’ve been using tap water. Boost humidity by grouping plants together, placing the pot on a pebble tray filled with water, or running a humidifier nearby. Check your watering habits too, both underwatering and overwatering can cause this, so make sure you’re letting the top inch of soil dry out before watering again.
Yellowing fronds
Yellow fronds on a parlour palm are a sign that something isn’t quite right. Overwatering is the most common culprit, but too little light, natural ageing of lower fronds, or draughts can also be responsible.
Check the soil first. If it feels soggy or has been consistently wet, ease off the watering and make sure the pot has adequate drainage. If the compost seems fine, consider whether the plant is in a bright enough spot or close to a cold window or draught. Removing yellow fronds tidily with clean scissors will keep the plant looking its best whilst it recovers.
Brown fronds
Entire fronds turning brown is usually a sign of underwatering, low humidity, or exposure to cold draughts. It can also happen if the plant has been allowed to sit in water for too long, causing root damage. Check the soil moisture first, if it’s bone dry the plant needs a thorough watering. If the soil is waterlogged, allow it to dry out and check the roots for any signs of rot. Increasing humidity and ensuring the plant is away from cold windows or air vents will help prevent this happening again.
Root rot
Root rot is one of the more serious problems a parlour palm can develop, and it’s almost always caused by overwatering or poorly draining compost. Affected plants will often look wilted and sad despite the soil being wet, and if you check the roots you may find they are brown, mushy, and have an unpleasant smell.
To treat root rot, remove the plant from its pot and gently shake away as much of the old compost as possible. Trim away any rotten roots with clean, sharp scissors and allow the remaining roots to air dry briefly. Repot into fresh, well-draining compost and hold off watering for a few days to give the plant a chance to settle. Keep a close eye on watering going forward and make sure the pot always has drainage holes.
Drooping fronds
Both underwatering and overwatering can produce drooping, limp fronds, which can make it a little tricky to diagnose. The soil is your best clue, if it’s bone dry the plant is thirsty, and if it’s soggy there may be a watering or drainage issue at play. Water thoroughly if the soil is dry and the fronds should begin to perk up within a day or so. If the soil is wet, hold off watering and check the roots for any signs of rot. It’s also worth checking that the pot isn’t too large for the plant, as oversized pots hold more moisture than the roots can absorb, which can lead to ongoing drooping and general unhappiness.
Slow or stunted growth
Parlour palms are naturally slow-growing plants, so if growth seems gradual that’s perfectly normal. However, if growth has stopped entirely during the growing season, it could indicate insufficient light, depleted compost, or the plant being pot-bound. Try moving the plant to a brighter spot, feed it with a balanced liquid fertiliser during spring and summer, and check whether the roots have filled the pot. If they’re tightly packed, it may be time to repot into a slightly larger container.
Mealy bugs, spider mites, and fungus gnats
Parlour palms are generally fairly resilient plants, but like most houseplants they can occasionally attract unwanted visitors. The good news is that catching a pest problem early makes it much easier to deal with, so it’s worth getting into the habit of checking the undersides of leaves and the base of stems when you water. Here are the three most common culprits to look out for.
Scale insects
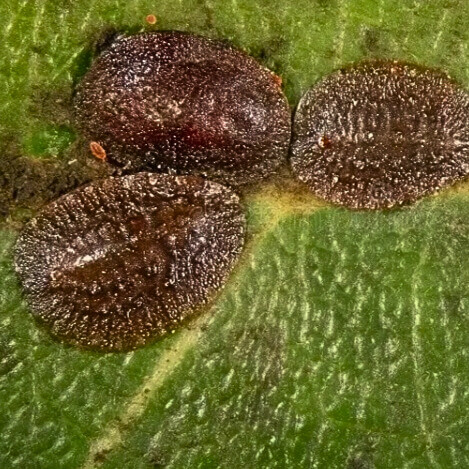
Scale insects look like small brown or tan bumps on the stems and undersides of fronds. They’re actually tiny sap-sucking insects that protect themselves with a hard, waxy shell. They can be tricky to spot at first as they don’t move much once they’ve settled in, but they can weaken the plant over time if left untreated.
Remove as many as you can by gently scraping them off with your fingernail or a soft toothbrush, then wipe the affected areas with a damp cloth. Repeat every few days for two to three weeks to catch any newly hatched insects. Keep the affected plant away from your other houseplants whilst you treat it.
Spider mites
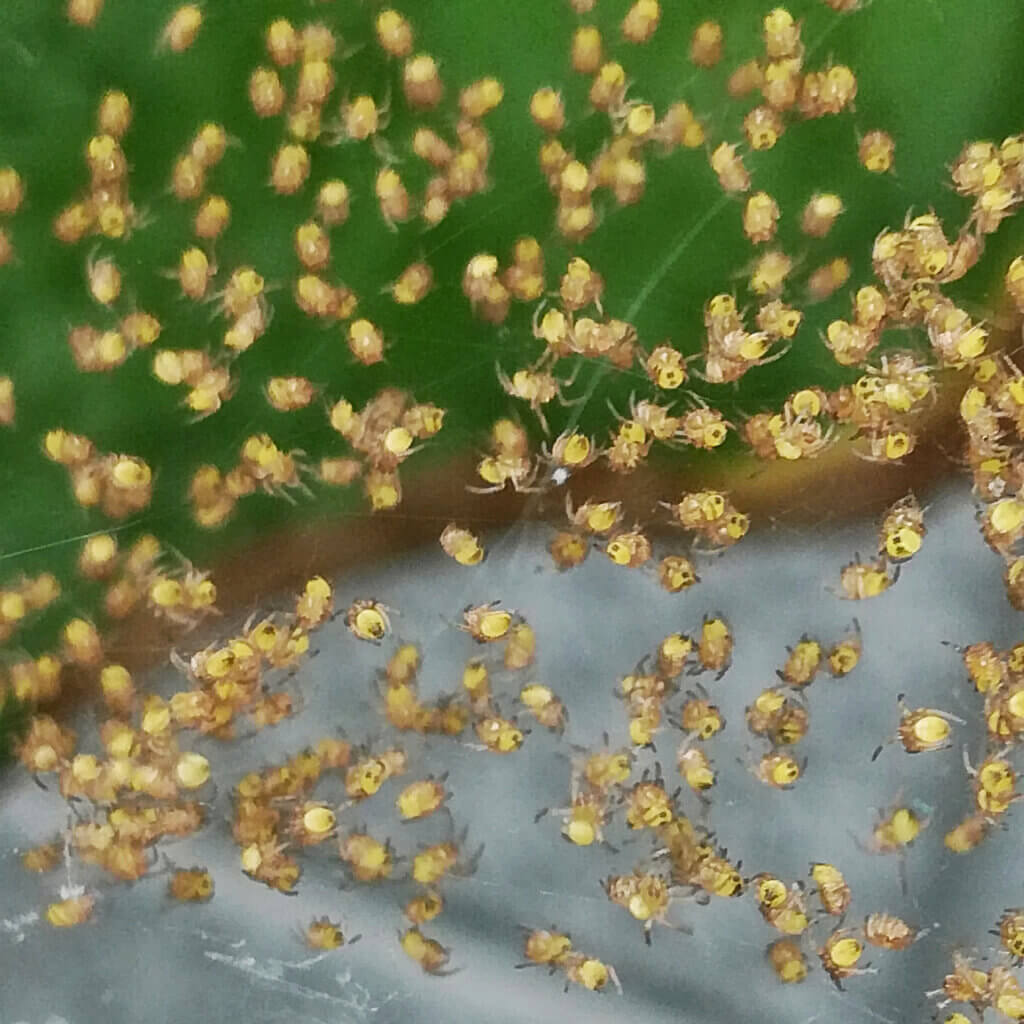
Spider mites are tiny and difficult to spot, but they leave some fairly telltale signs. Look out for fine, dusty webbing on the undersides of leaves and between stems, along with small bronze or yellow speckles on the leaf surface where the mites have been feeding.
The first step is to give the leaves a thorough wipe down with a damp cloth to physically remove as many mites as possible. They thrive in warm, dry conditions, so raising the humidity around the plant will make infestations less likely going forward.
Fungus gnats
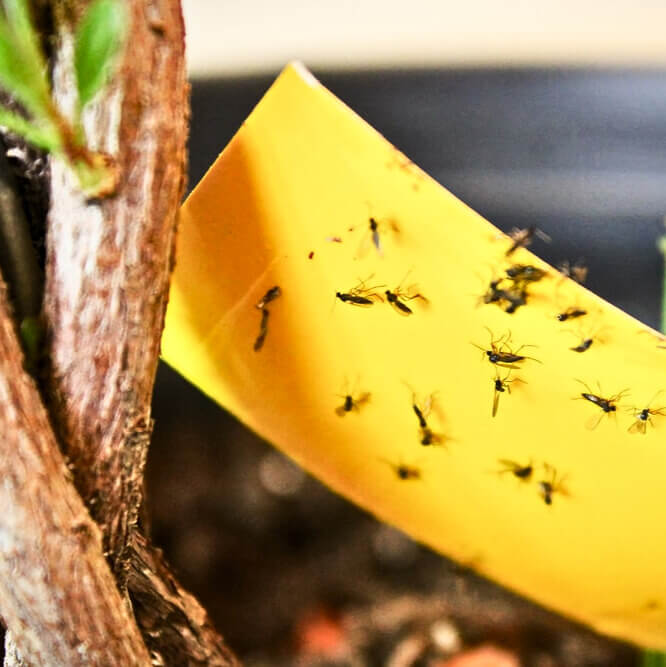
Fungus gnats are small, dark flies that you’ll most likely notice hovering around the surface of the compost or flying up when you water. The adult flies are largely harmless, but their larvae live in the top layer of moist soil and can stress the plant. They tend to be most problematic when compost is being kept consistently wet.
The most effective way to tackle fungus gnats is to let the top few centimetres of compost dry out between waterings, as the larvae cannot survive without moisture. Sticky yellow traps placed near the plant will catch adult flies and help you monitor how bad the infestation is. Improving drainage and avoiding overwatering is the best long-term prevention.
How to propagate your parlour palm
Parlour palms are tricky to propagate at home because they’re grown from seed rather than division or cuttings. Unlike many houseplants, you can’t simply take a cutting and root it in water or soil. The plants produce small yellow flowers that, if pollinated, will develop into seeds, but getting viable seeds and successfully germinating them requires quite a bit of patience and the right conditions.
If your parlour palm does flower and produce seeds (which is rare indoors), here’s what you can do:
- Wait for the seeds to ripen fully on the plant. They should be dark and firm before harvesting.
- Sow the seeds in a seed tray filled with moist, well-draining seed compost.
- Cover the tray with a clear lid or plastic bag to maintain humidity and place it in a warm spot with bright indirect light.
- Keep the compost consistently moist but not waterlogged. Germination can take anywhere from one to six months, so patience is essential.
- Once seedlings appear and develop a few fronds, transplant them carefully into individual small pots.
Top Tip
Because propagating parlour palms from seed is such a lengthy and uncertain process, most people find it easier to simply purchase a new plant if they want to expand their collection. Young parlour palms are widely available and relatively inexpensive, making them a practical choice for most home growers.
Parlour palm care FAQs
Q: Are parlour palms safe for pets?
A: Yes, according to the ASPCA, parlour palms are non-toxic to cats and dogs, making them an excellent choice for pet-friendly homes.
Looking for more pet safe plants?
Check out the complete guide to pet safe plants. Get advice on how to choose the right plants for your space and schedule, as well as creative ideas for how to style them.
Q: How long can a parlour palm live?
A: With the right care, a parlour palm can live for many years, often a decade or more. There are reports of well-maintained parlour palms living for several decades. Regular repotting, consistent watering, and good humidity will all go a long way towards keeping your parlour palm happy for the long term.
Q: How fast do parlour palms grow?
A: Parlour palms are slow growers, typically producing only a few new fronds each year. In good conditions you might see one to three new fronds annually. This slow growth is part of their charm and means they won’t quickly outgrow their space, but it also means you’ll need to be patient if you’re hoping for a large plant.
Q: How big can a parlour palm grow?
A: Indoors, parlour palms typically reach between 60cm and 120cm in height, though they can occasionally grow taller in ideal conditions. In their native habitat they can reach up to 2 metres or more, but this is rare in home environments. Growth is generally slow and steady, so it will take several years for a young plant to reach its full size, but the elegant fronds along the way make it well worth the wait.
Q: Do parlour palms flower indoors?
A: Occasionally, yes. Mature parlour palms can produce small yellow flowers on long stalks that emerge from the base of the plant. The flowers aren’t particularly showy compared to the foliage, but they’re a pleasant surprise when they appear. If pollinated, these flowers can develop into small black seeds. However, flowering is relatively uncommon indoors and tends to occur only on well-established, happy plants.
Q: Should I mist my parlour palm?
A: Whilst parlour palms do appreciate humidity, misting isn’t the most effective way to provide it. The moisture from misting evaporates quickly and doesn’t raise humidity levels for long. It’s better to use a pebble tray, group plants together, or use a humidifier. If you do choose to mist, do so in the morning so the fronds have time to dry before evening, as sitting damp overnight can encourage fungal problems.
Q: Can I put my parlour palm outside in summer?
A: You can place your parlour palm outdoors during the warmer months, but it needs to be in a sheltered spot with dappled shade, never in direct sun. Make sure it’s protected from strong winds, which can damage the delicate fronds, and bring it back indoors before temperatures drop below 13°C. Many growers find it easier to simply keep their parlour palms indoors year-round, as they’re perfectly happy in a consistent indoor environment.
Q: Do parlour palms need feeding?
A: Parlour palms benefit from regular feeding during the growing season but don’t need a great deal to thrive. A balanced liquid fertiliser applied at half strength once a month from spring through to early autumn is plenty. Avoid feeding during winter when the plant is resting, as the roots are less active and excess fertiliser can build up in the compost and cause damage. Always feed after watering rather than into dry compost to avoid stressing the roots.
Q: Why is my parlour palm turning brown?
A: Brown fronds or tips on a parlour palm usually point to one of several issues. The most common causes are underwatering, low humidity, or exposure to tap water containing fluoride and chlorine. Brown tips specifically are often a humidity or water quality problem, whilst entire fronds turning brown can indicate the plant is too dry or has been sitting in cold draughts. Overwatering can also cause browning, particularly if the roots have been damaged by sitting in waterlogged soil. Check the soil moisture first, switch to rainwater or filtered water if you’ve been using tap water, and make sure the plant is in a spot with decent humidity away from cold windows or heating vents. Remove any fully brown fronds with clean scissors to tidy up the plant’s appearance.
Q: Can I trim brown tips off my parlour palm?
A: Yes, you can carefully trim brown tips using clean, sharp scissors. Cut at an angle following the natural shape of the leaflet to keep it looking as natural as possible. This is purely cosmetic and won’t harm the plant. The important thing is to address the underlying cause so new growth comes through healthy.
Final thoughts
The beauty of parlour palms is that they don’t ask for much, but they give back so generously. A little attention to the basics—light, water, humidity—and you’ll have a plant that quietly elevates your space with its graceful presence for many years to come. Parlour palm care really comes down to paying attention, staying responsive to what the plant is showing you, and not being afraid to make small adjustments along the way.
Get those fundamentals sorted, and your parlour palm will be a faithful companion for the long haul.